Slip on sneakers are a huge trend for spring and summer. You see them in all the magazines with cool patterns, textures and embellishments. So why not create your own it’s easier than you think, it’s fun and it will save you some cash!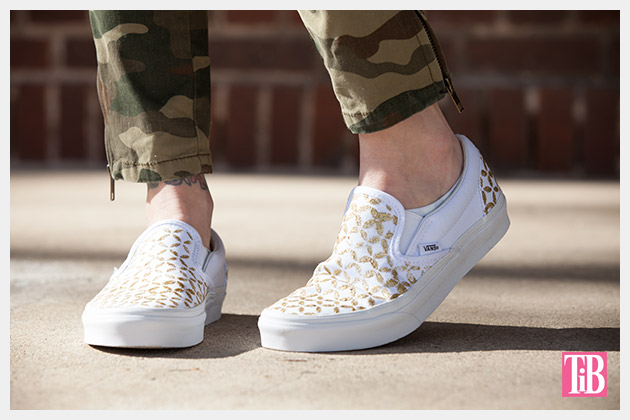

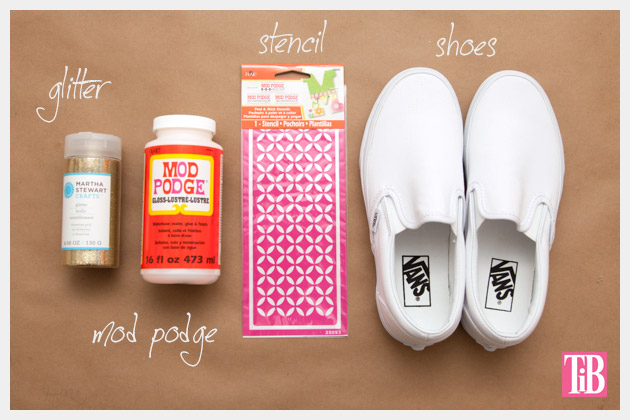
TOOLS & MATERIALS:
- Amy Anderson’s Mod Podge Rocks Stencil
- Slip on sneakers
- Mod Podge
- Glitter
- Sponge pouncer
- Brush for mixing
- Bowl
- Toothpicks
step 1
In your bowl mix your mod podge and glitter.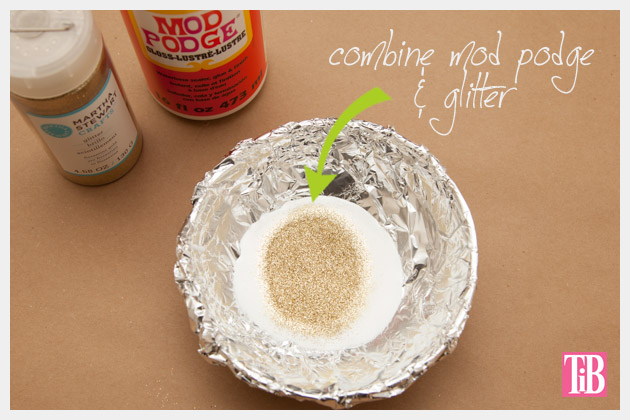
In your bowl mix your mod podge and glitter.

Depending on how thick or solid you want your glitter to be add more glitter to your mix.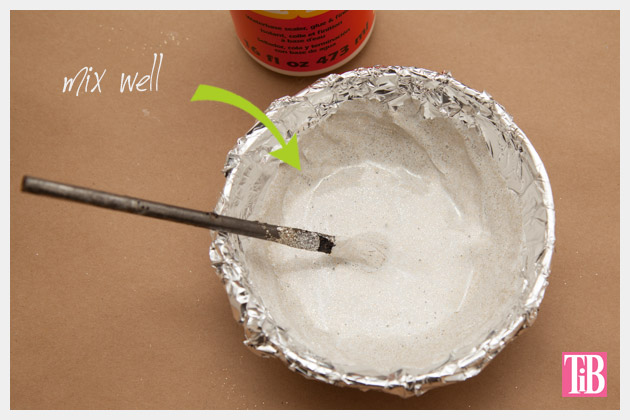

step 2
Decide where you want your design to be on your shoes.
Decide where you want your design to be on your shoes.
Lay your stencil sticky side down on your shoes and smooth it out to make sure it’s flat on the surface of your shoes, otherwise the mod podge and glitter will seep under and ruin your design.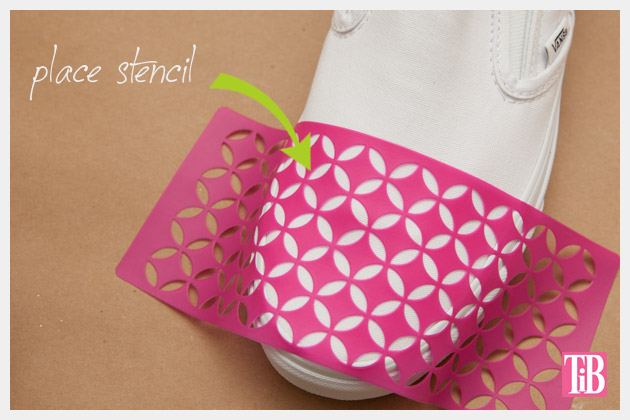

TIP:You may want to stuff your shoes with paper to make it easier to paint.
step 3
Using your sponge pouncer gently press your mod podge glitter mix onto your shoes through your stencil.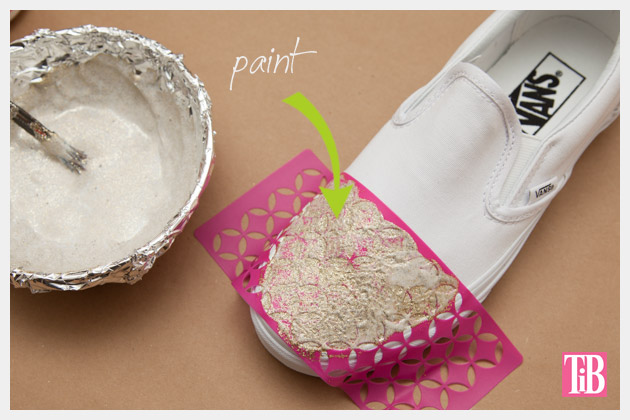
Using your sponge pouncer gently press your mod podge glitter mix onto your shoes through your stencil.

step 4
As you move your stencil around your shoes you may want to wash it in between painting. Just make sure it’s completely dry before putting it back on your shoes.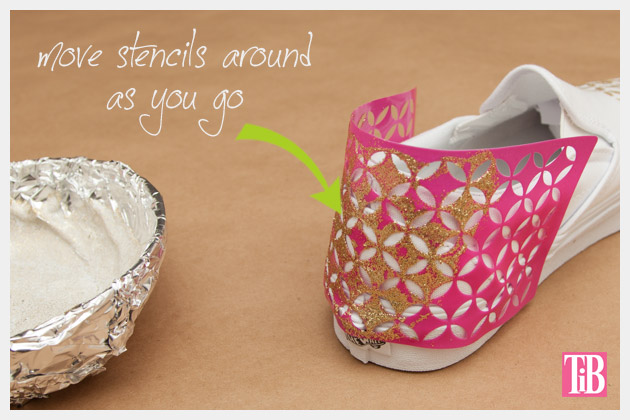
As you move your stencil around your shoes you may want to wash it in between painting. Just make sure it’s completely dry before putting it back on your shoes.

TIP:After washing it the back will get sticky again so you can reuse it. I did notice that it didn’t stick to the canvas on the vans as well as I would’ve liked, so you just need to press it down really well before you start painting.
Just work in small sections and hold the stencil down as you go. The result is totally worth it!
Keep painting until your design is everywhere you want it to be.
If your mod podge and glitter bleed under your stencil or spread out more than you want it too, you can use a toothpick to clean up some of the extra.
You can also use a damp paper towel to clean up any that gets onto the rubber around the edges.
Let dry.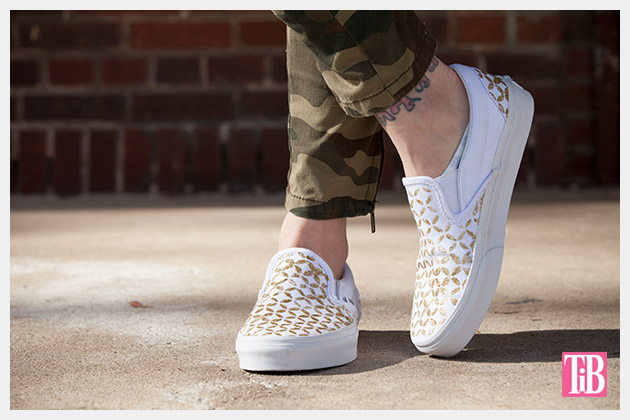

As I was painting my vans I also liked the way it looks when the print is very subtle and almost faded looking. But since I had already committed to making the design more solid I went with it. It’s something to think about when you’re making yours or for my next pair.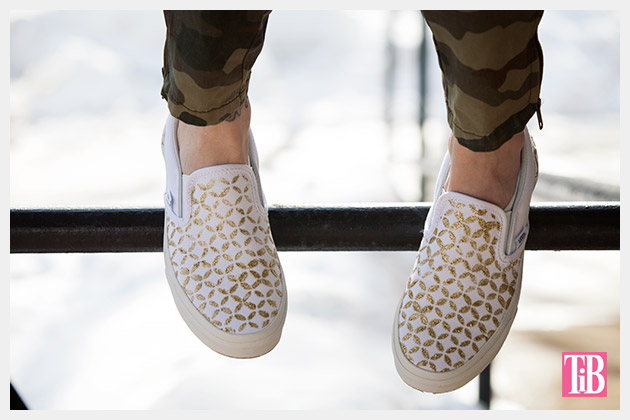

Be sure to check out Amy Anderson’s blog Mod Podge Rocks to see all the fun projects she shares there! And don’t forget to check out her stencils too! There are more fabulous designs!
I used gold glitter for my vans to make them more versatile, they would also look amazing in bright glittery colors! What color will you use?

No comments:
Post a Comment