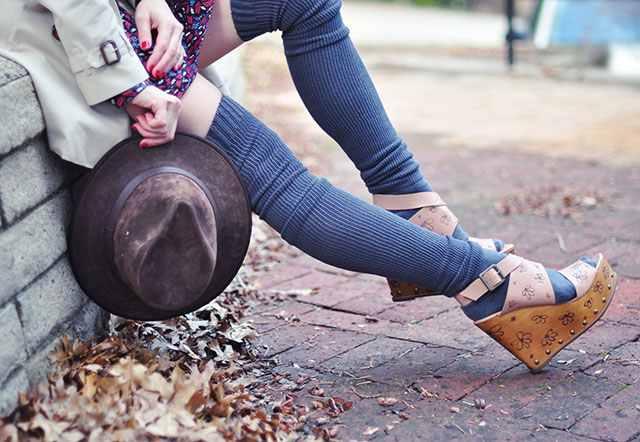
You can’t think of ’90s fashion without ’60s and ’70s styles coming to mind, well, I can’t anyway, because when I think back to some of my favorite looks of the time, they were either inspired by those decades, or quite literally taken from them. In the ’90s is when I started really shopping at thrift stores, and not only that, I chose thrift shops over new stores because they had the exact styles I was looking for vs the new shops which had nothing even close or crappy replicas of the styles I was looking for, which to me, back then, was far less cool than having the original.
As I am much older now, I can see the value in new looks inspired by old fashions, and since it has been twenty years since the ’90s now, there is a fun mix of all the decades into one new and modern look, and this is fun… or at least, this is what I tell myself to make aging more fun for me 

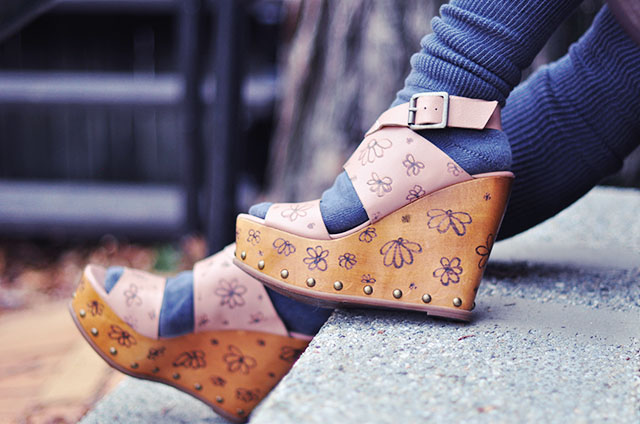
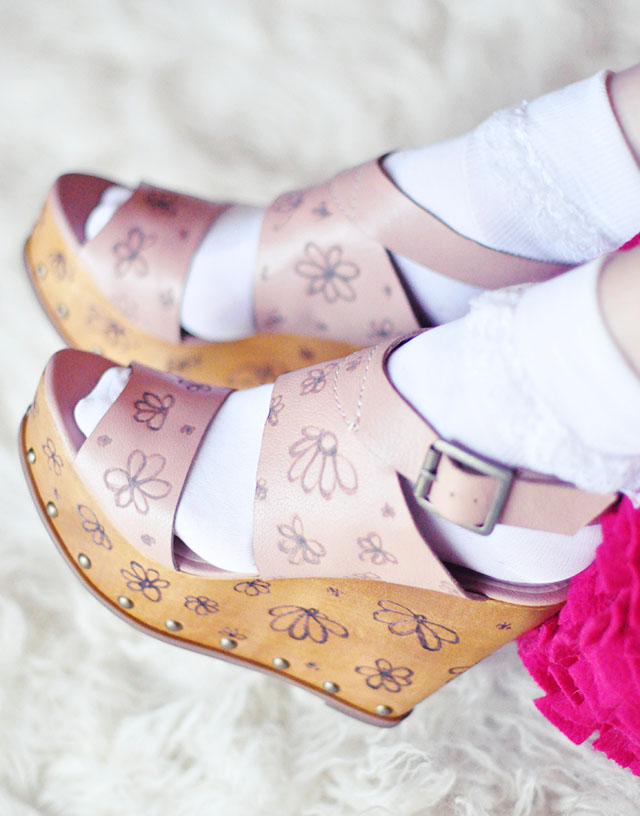
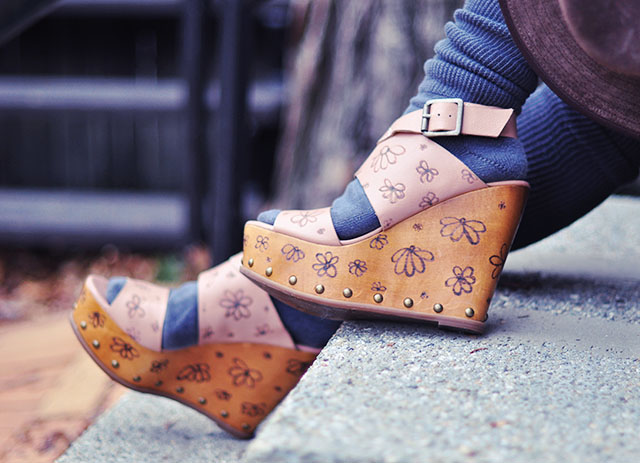
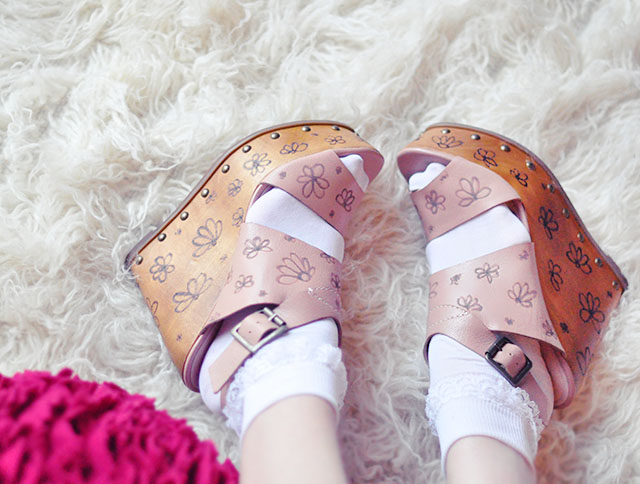
Anyway… I recently had a flashback to the groovy floral wedges of the ’70s that becamepopular in the ’90s and thought it would be fun to DIY a pair of my own since they don’t really exist anywhere to buy just yet, other than these gorgeous mosaic wedges by Dolce & Gabbana, which are similar, but not exactly the crafty, woodsy, hand-made ’70s style I was going for.
So I grabbed my woodburner and my wood-soled leather strap wedges I bought a few years ago, and got busy. To be honesty, I’ve actually had a surprising amount of practice with a wood burner, on leather, more than wood… I used to burn a similar floral design into leather belts a million years ago, so I thought I’d free-hand it all over my shoes because it’s pretty cute, but any floral design will turn out cute as well.
Here’s What You’ll Need…
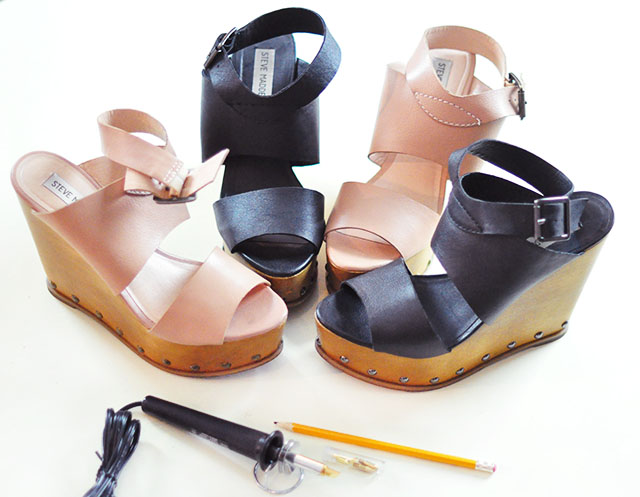
- Wedges with a true wood sole. Mine are Steve Madden from a few years ago… Opt for leather straps if you want to decorate those as well.
- Woodburner pen
Make sure to do this in an open/ventilated area and wear glasses if the {very small amount of} smoke irritates your eyes.
Steps…
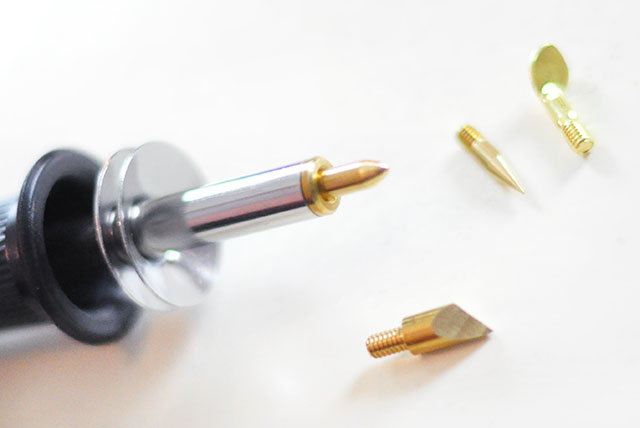
Your woodburner tool probably comes with four different tips. I like the curved tip with a point best. I believe it’s the calligraphy tip, but it creates the smoothest lines without breaking or getting stuck in the grooves.
NOTE: Most wood-soled shoes, however, usually have a finish, which makes burning a bit more difficult. Draw your designs out with pencil or pen first if you’d rather be more precise and/or find printable designs.
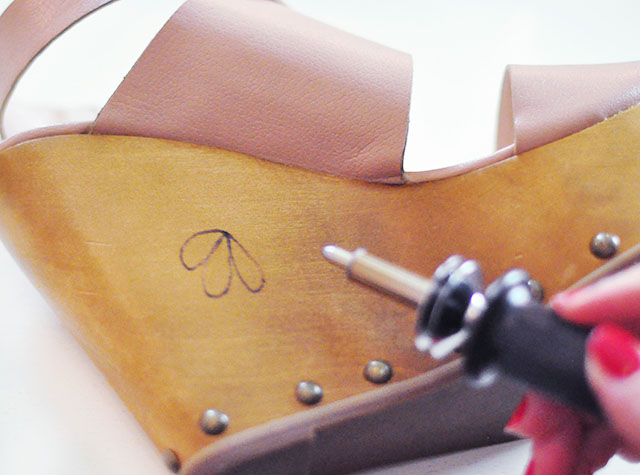
There are a few options for free-hand designs…
Create your flowers slowly and one at a time or…
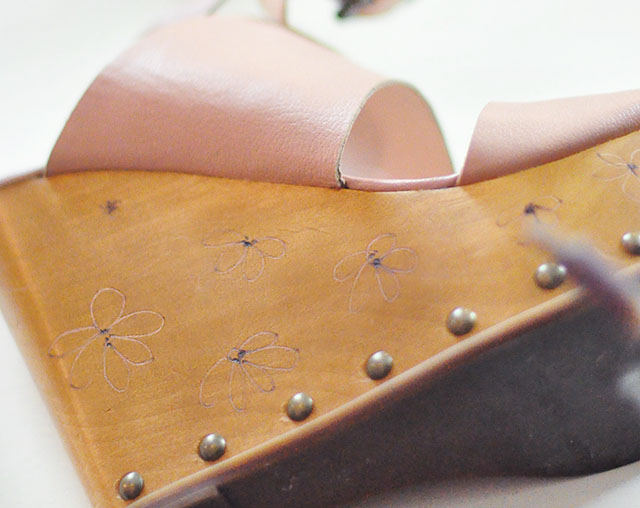
Burn them all on lightly at once to create your print, then go over each one slowly to get the full burned effect.
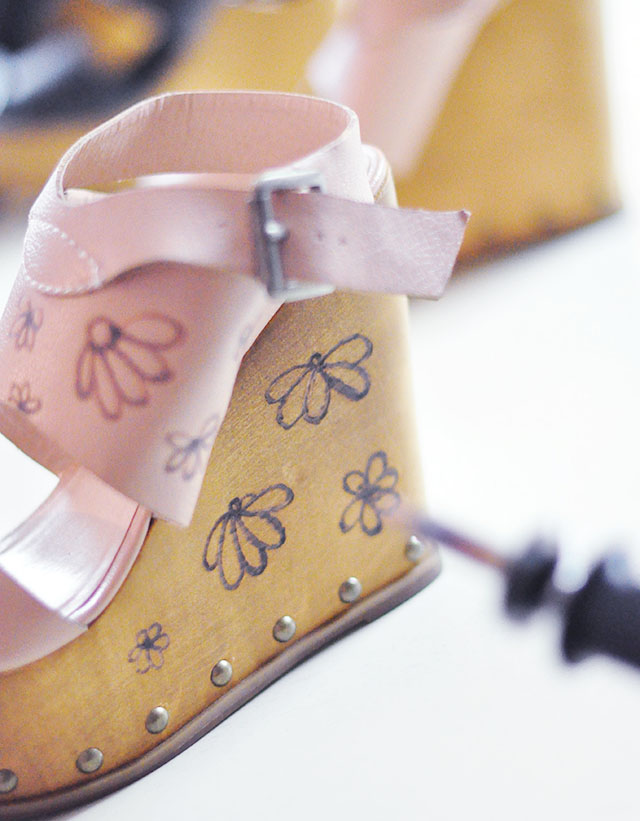
Do all the wood at once and all the leather at once because they burn differently.
Use a lighter touch on the leather and a heavier hand on the wood. The leather will burn quicker and easier and smoother, but if there’s a finish to it, which there most likely will be, it will stick to your burner and you’ll have to let it sit to warm up again after a few flowers drawn.
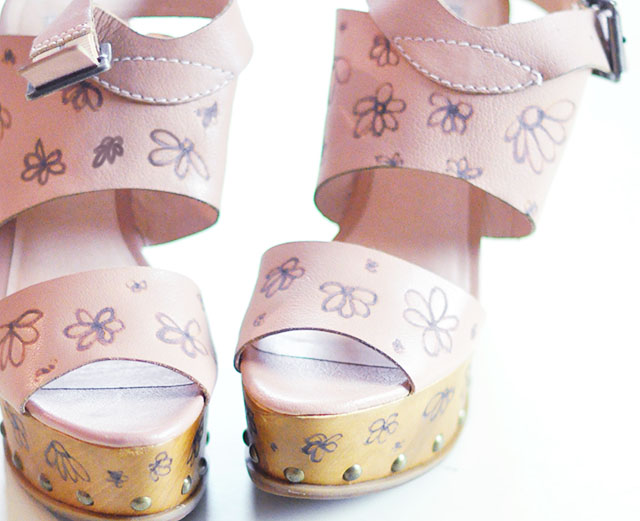
Go over any light burned section for a more in-depth design. Be as simple or as intricate as you like!
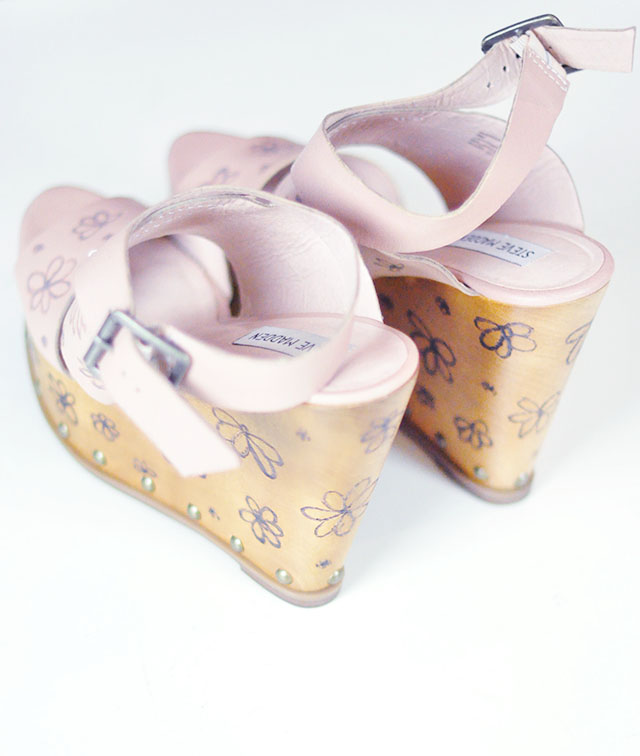
Make sure to space your flowers out and cover all areas, including the back. Don’t worry if your designs aren’t perfect! That’s the point!
I skipped the ankle straps, but you can choose to decorate any, all, or just parts of your shoes. Get creative!
And… Voila!
I have to wear my groovy floral wooden wedge sandals with socks at the moment because it’s Winter {and let’s be honest, I haven’t had a pedicure in months} but also… brrrr, it’s cold out herrr!

No comments:
Post a Comment