Wednesday 30 November 2016

10 Lazy Girl Outfits That Look Polished AF

With everything that happens during a week, the last thing we girls need to be worrying about is coordinating our outfits. For me, the key to looking “put-together” is owning a couple statement accessories (like a favorite watch, belt, or pair of shoes) to spruce up a look. It’s all about finding a balance between style and comfort. Girls like to be lazy sometimes, but that doesn’t mean your wardrobe needs to suffer for it! Here are 10 lazy girl outfits that actually look polished AF!

1. A Jumpsuit + Benhil Trav

Jumpsuits are fun, flirty, and effortlessly stylish. You don’t have to worry about mixing pieces together – just slip it on and you’re ready to face the day 


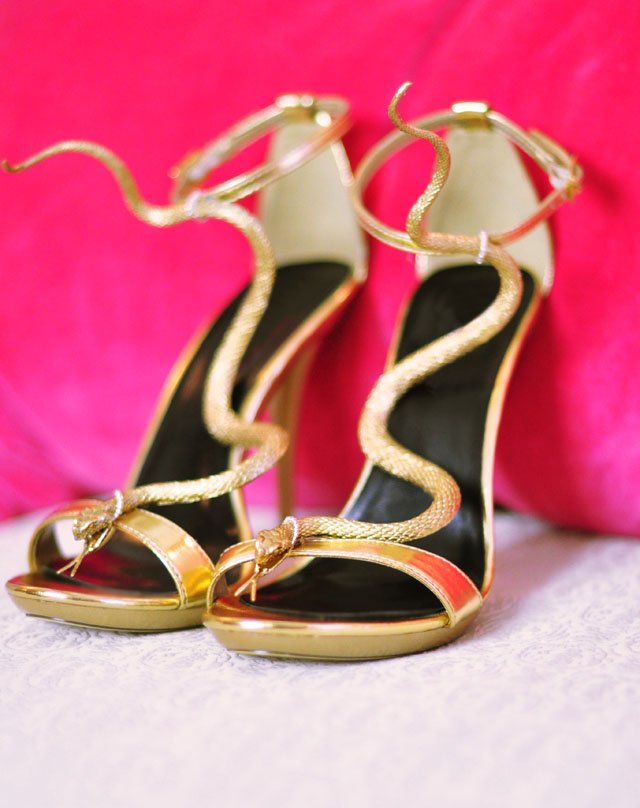
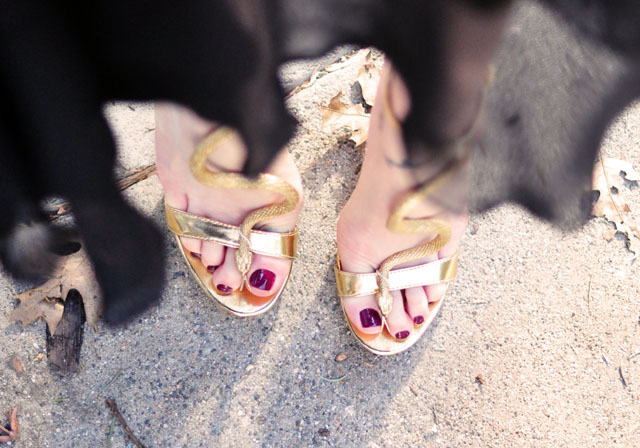
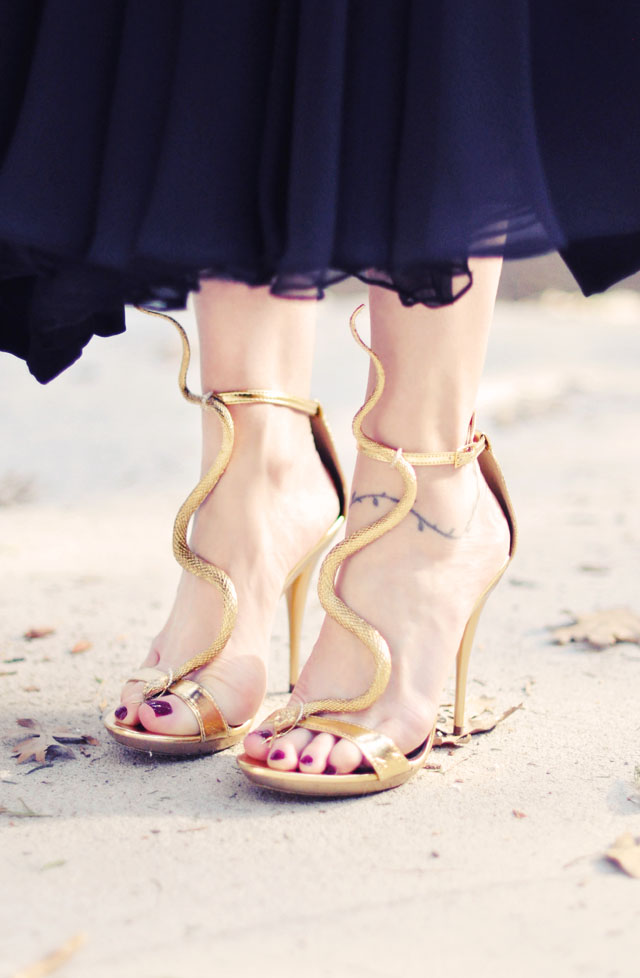
2. A Romper + Lene Sling

Rompers are like mini jumpsuits. They’re perfect for the warmer seasons and easy to accessorize with a bomber jacket or strappy sandals.

3. Overalls + Grandy Draw

Denim will never go out of style, and overalls are the perfect alternativeto squeezing into uncomfortable skinny jeans! You can pair this piece with anything from a loose sweater to a crop top!


4. T-Shirt and Shorts + Lucifor Sling

If you’re anything like me, you basically live in this outfit combo. It’s easy to switch up this look by alternating the colors and fabrics of both pieces! I usually aim for a frocket on the shirt and distressed detailing on my shorts!


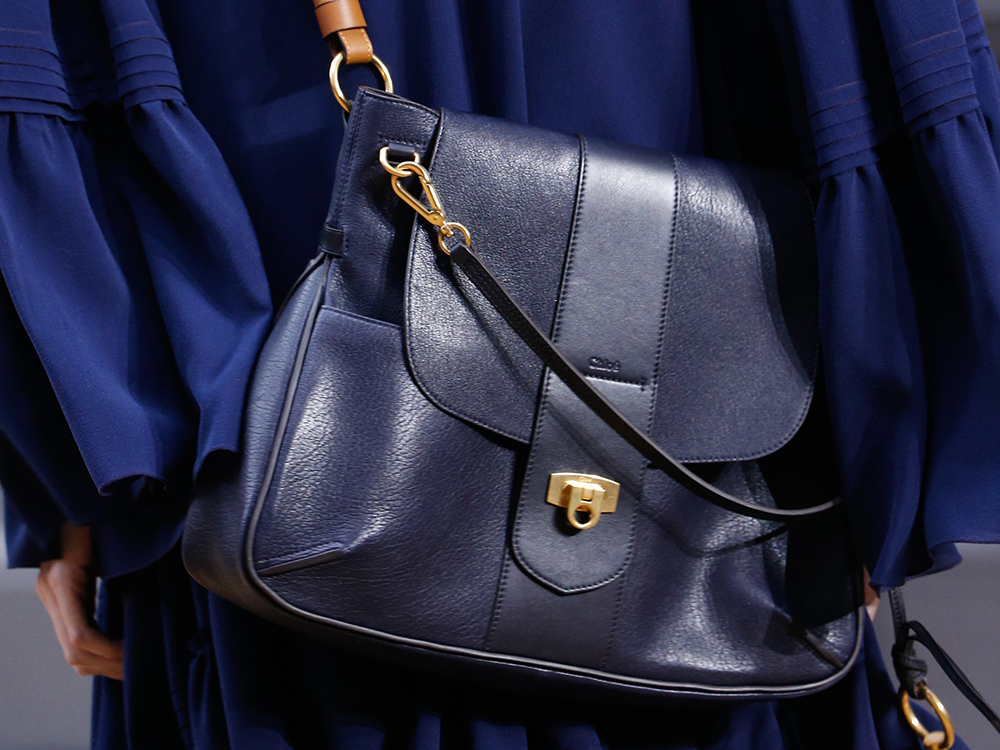
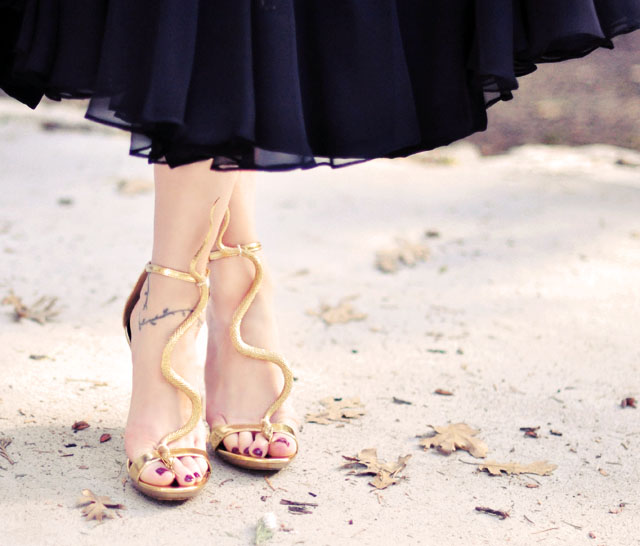
5. Shirt dress + Sherina SLing

The shirt dress definitely is one of my go-to lazy girl outfits. I can dress it up with a statement necklace or a fancy pair of wedges, but play it down by adding a cardigan or a pair of sneakers for added comfort.

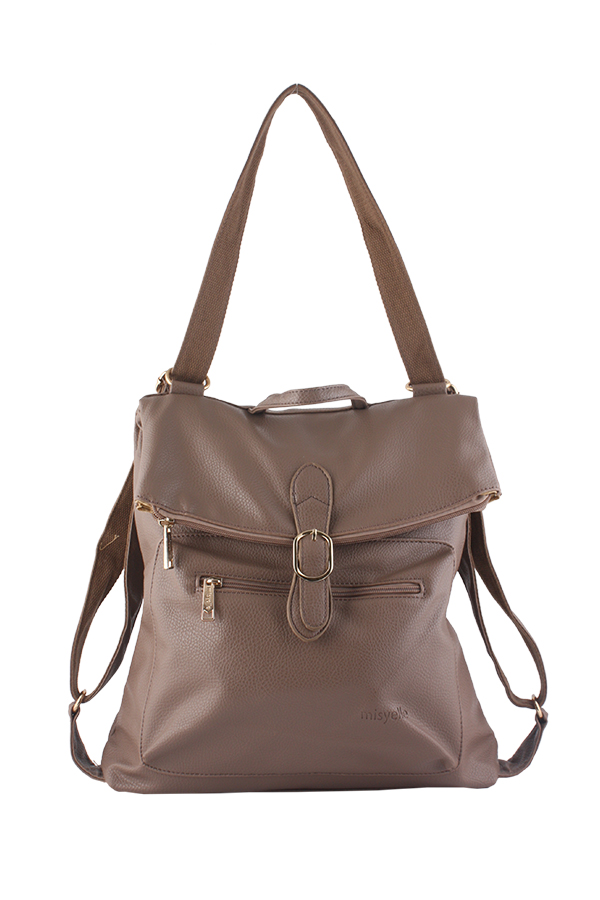
6. Oversized Sweater and Leggings + Aneke Tote

I believe leggings are God’s gift to the world of fashion. Plus, over-sized sweaters may be the comfiest article of clothing a lazy girl could wear. To polish up this look, try adding a belt or a scarf.

7. Activewear + Benhill Trav

“Athleisure” is becoming a trend simply because of the comfort it brings us lazy girls. This look is sporty yet chic, and you can run from the gym to class in style!


8. Maxi Skirt + Moreno Sling

Maxi skirts provide the ease of the t-shirt dress, but also act as a cover up when you haven’t shaved in a couple days… Just throw on your favorite black tank top and you’re good to go!


9. Jogger Pants + Maggie Sling

Jogger pants are a step up from sweatpants, but just as comfortable. They offer a more feminine and elegant (almost bohemian) look that requires minimal effort.


10. Jeans and Cardigan + Maggie Sling

For those days when you’d like to look a little extra polished, a loose cardiganis really all you need. You can layer items or add a detailed top underneath.


DIY VELVET AND PEARL RIBBON HAIR ACCESSORY, NECKLACE, BELT, TIEBACK

DIY pearl velvet ribbon

I’m so excited to be DIYing again! Though I’ve done a few here and there, it feels like it’s been SO LONG since I’ve had time to be open for new inspiration and creativity AND THEN have time to make it too. So fun!

I love a good accessory that works for so many different things. I saw this as an accent on a Chloe dress {scroll down for my inspiration photo} and thought it would look so pretty not only as a dress embellishment, but as a belt, necklace, a curtain tieback, and mostly, as a pretty hair accessory worn so many different ways. I made another use-for-everything pretty accessory a few months ago that’s much simpler and quicker to do, but different. You can find here: DIY Looping Circles Accessory Ribbon.

WHAT YOU’LL NEED…

DIY pearl velvet ribbon

* Velvet ribbon. I used a flat Velvet Band 1-1/2 Inch Wide because that’s what I had. If you can find a heavy/drapy rope style velvet ribbon, you can skip a few of my steps below {& maybe get a better/heavier result}
* Pearls. I used white plastic craft pearls {medium} and tiny seed bead pearls
* Needle, thread, scissors.

STEPS…

DIY pearl velvet ribbon

1. Cut your ribbon between 40-50″ long {depending on what you want to use this for, and or, depending on your height and size} For instance, if you want to wear it as a belt, measure it to fit your waist with at least 6 inches at each end for pearls, and enough room to tie it as well.

2. Fold the edge of your velvet over, then in half, and stitch the edge together go give it a nice finished end.
3. Hiding the end of your knotted thread inside the ribbon folds {with the needle coming out through the top}, thread your large pearl through the needle then your seed bead on top…
4. Now thread your needle BACK through your large bead AGAIN and down into the velvet to secure it. I threaded my needled directly into the spot where my next pearl would go and continued with each, pulling the them tightly into place. You may knot each pearl separately, but I did it after setting three into place.
5. You will have 3 rows of pearls; one at the edge and one on either side. It will begin by looking like the last photo above… and continue looking something like the photo below. Try to keep your pearls in straight lines.
DIY pearl velvet ribbon

I wanted my ribbon the same width and thickness throughout, so I hem-stitched the edges until I reached about 7 inches away from the opposite end when I began hand-beading my pearls on again. I spaced out the last 4 pearls nearest the center, a little more than the others for gradation effect. You can place them as close or as far apart as you like. You can also measure and mark it if it will help.

DIY pearl velvet ribbon

MY INSPIRATION…

chloe dress

Chloe dress $2,695 | Editorial from Elle Magazine, June 2013 | Photo from My Fashion Database

VOILA… VOILA! SO MANY USES!

* Think about the coming holidays!
low twisted ponytail, hair accessory DIY
DIY pearl velvet ribbon
DIY pearl velvet ribbon choker necklace
low twisted ponytail, hair accessory DIY
DIY pearl velvet ribbon curtain tieback


Tuesday 29 November 2016

Friday 25 November 2016

Tuesday 22 November 2016

Love It or Leave It: ChloĆ©’s Only Fall 2016 Runway Bag

Sunday 20 November 2016

Thursday 17 November 2016

Wednesday 16 November 2016

Tuesday 15 November 2016

DIY SHOES // GOLD SNAKE SERPENT T-STRAP SANDALS

DIY Shoes | Gold Snake Serpent T-Strap Sandals
Inspired a little by these Snake Ankle Strap Sandals and a little more by these Alligator T-strap Sandals both by Giuseppe Zanotti and both over $1500 for the pair, I though why not make my own DIY Snake Sandals and see how they compare?
I originally was going to use the black sandals as in my inspiration {see below}, but my gold sprayed snakes matched my gold sandals so perfectly, I opted for gold on gold. I think these would be just as cute on flats as they are on heels. But if they’re a little too exotic for your everyday wardrobe, they’d also make perfect Cleopatra shoes for Halloween.

Here’s What You’ll Need…

DIY Gold Snake Serpent Shoes-1
  • Ankle strap sandals {flats or heels will work}… you can choose to match your snake to your shoe as I have OR use contrasting colors like gold on black. I used a pair of Michael Antonio Gold Sandals I purposely bought for DIYs because they were under $20 at Amazon
  • Rubber Snakes: I used two from this Snake Nature Tube I found at the local toy store. I opted for two with their mouths open because they looked the best.
  • Spray paint color of choice. If you’re looking for a flat color, acrylic paint would work as well.
  • Needle/Thread | Sharpie | Scissors
  • Seed beads or other small beads
  • Hot Glue {mod podge would work {probably better in the long run}, but take longer to dry}
  • Optional: glitter, gems, crystals, etc. to embellish your snakes with {I did not do this, but it would be cute}

Steps…

DIY Gold Snake Serpent Shoes-2 DIY Gold Snake Serpent Shoes-3
* Spray paint your snakes {front and back} and once dry, glue on your crystals if you like.
DIY Gold Snake Serpent Shoes-4-1
* Try on your sandal and place your snake where you’d like it to sit… Stand up and move a little too. Make sure your placement isn’t too tight that it snaps off.
DIY Gold Snake Serpent Shoes-4
* Mark the toe strap and the ankle strap where the neck and tail where your serpent will adhere.
DIY Gold Snake Serpent Shoes-5
* Hot glue your snake in place {it may be easier to get the right placement if you glue it while it’s on your foot BUT BE CAREFUL!!}
NOTE: Your snake WILL NOT stay on with glue alone.
DIY Gold Snake Serpent Shoes-6
* String your small beads onto a needle/thread or beader, and knot it so that you have a few inches extra on each end.
DIY Gold Snake Serpent Shoes-7
* Wrap it over the snake’s neck and around your toe strap…
DIY Gold Snake Serpent Shoes-8
* And knot it well beneath. Add another dab of glue beneath to secure it.
DIY Gold Snake Serpent Shoes-9
* Do the same over the tail at the ankle strap.
NOTE: You can also choose to create an X over the neck and tail to really secure it if you’re going to be dancing, the more secure the better. You don’t want your shoes falling apart on the dance floor… or on the red carpet šŸ˜‰ How embarrassing.

And… Voila!

DIY Snake Serpent shoes gold snake sandals
DIY snake shoes-serpent    T -strap sandals
DIY gold snake sandals
gold snake sandals heels
Gold Snake Sandals heels- DIY 3
gold snake serpent sandals DIY-3

source

Thursday 10 November 2016

5 Shoe Styles We’ve Been Seeing Everywhere This Season

Whether you see it on the runway or on the streets, you can’t deny that a pair of shoes can easily transform any outfit. And this season, there are a couple of shoe styles that have caught every fashion girl’s eye. So if you’ve been grabbing the same pair of shoes lately, maybe it’s about time you give your overused shoes a break and throw in a new on-trend style to keep your wardrobe up to date.
From Chanel’s pointy two-tone mules to Miu Miu’s ballerina shoes (that we’ve been seeing everywhere), we scoured the stores and found out how you can get in on this season’s must-have shoes without leaving a hole in your wallet.
High Heel Mules 
Chanel Pointed Mules
The Chanel mules are all over the streets this season and we can’t deny how classy it looks. Here’s how you can wear the high heel mule trend without digging a hole in your pocket:
stiletto-heel-mules-zara
Stiletto Heel Mules, Php 3,995, Zara
Metallic Foil Mule Stilettos
Metallic Foil Mules StilettosPhp 2,995Janylin
Flat Mules
Flat Mules
This backless footwear is here to stay. While slip-ons were a huge trend last summer, this season’s flat mules come in a more polished look.
mango-metallic-slingback-shoes
Metallic Slingback Shoes, Php 3,995Mango
rita-two-toned-mule-loafer-1_large
Rita Two-Toned Mule LoaferPhp 3,150Cecilia
Metallics
gold-mules-turtleneck-sweater-ruffled-skirt-lfw-street-style-psuk-640x960
While metallic skirts had a moment this fall, metallic shoes also reigned in this season’s runways and street style trends. These shoes definitely perk up an entire look. It’s perfect for the holiday season too!
aiyana-pewter-metallic_2
Aiyana Pointed Toe High Heel Court Shoes, Php 4,550Dune London
charles-keith-mules
Open Toe MulesPhp2399Charles & Keith
Heeled Loafers
Heeled Loafers
As seen on the runways of Coach, Burberry, and Derek Lam, elevate your look (literally) with these heeled loafers.
mango-metallic-heel-loafer
Metallic Heel Loafer, Php 3,995Mango
hm-patent-loafers
Patent Loafers, Php 1,690H&M
Ballerina Shoes
miu-miu-ballet-flats
Ever since Miu Miu released their ballerina shoes, we found every single blogger wearing the updated classic shoe. Let’s hope that this time, ballet flats are back for good!
zara-ballet-flats
Leather Ballet Straps with Straps and StudsPhp 3,495Zara
bershka-ballerina-shoes
Lace-Up Buckle Strap Ballerina Shoes, Php 1,990Bershka

source