Bling Keychains and Pom Bag Charms are EVERYWHERE right now, and they are A-DOR-A-BLE… but ultimately wildly expensive! I’m guessing it’s because many of them are made with real fur {yikes!} but I think the trend actually originated with Fendi and Lagerfeld and took a few years to catch on. That said, I’m seeing them everywhere right now which means… YOU GUESSED IT. A DIY tutorial, of course!
Whether you’re upgrading an existing present or offering it as the main event, these fluffy little friends are the perfect one-of-a-kind surprise DIY gifts for your BFFs. But why not take it a step further and make a fun craft night (move over ugly Christmas sweater parties) and get matchy-matchy with all your besties?!
Call your girlfriends and make a party of it, and don’t forget the Ecco Domani wine! Ecco Domani has flavors for every palate. Their Pinot Grigio has a delicate floral taste with a hint of citrus, while their Merlot is bursting with a sweet blackberry flavor that really pops when chilled! Ecco Domani upgrades any night! Add friends and crafts, and you’ve got yourself a party.
‘Tis the season to plan an impromptu craft night and get your DIY on in style!

As cute as they are blinging out handbags, these poms are equally as stylish dangling from anything you can imagine! I clipped one into the Ecco Domani wine cork for an instant upgrade and suddenly had a festive bottle to share! Clip them onto the bottom of your stemware glasses as name tags, embellish your holiday gift wrapping with them, hang these fluffy pouf balls on your Christmas tree, from your ears, they’re seriously cute anywhere and on anything!
My DIY Geo Triangles Wine Glasses seen in the photos from last year’s Ecco Domani Style Society DIYs make a fun and unique gift for BFFs too! Pour a glass and let’s get started!
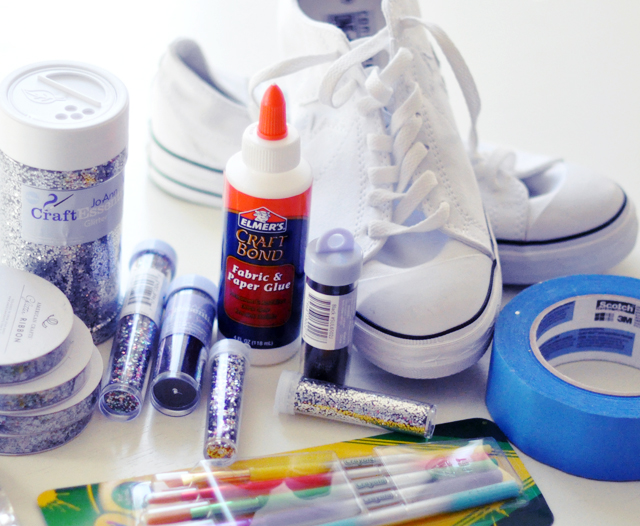
Here’s What You Need…

- Long-haired faux fur {color of choice}
- Maribou boa {color of choice}
- Gold chain
- Gold hook {of choice}
- Scissors & Matching thread/needle
- Extra cute trims of choice {which I began with but removed in the end}
Steps…

Decide how long your want your pom to dangle and attach your chain to your hook with beading pliers. I trimmed mine down to about 2 inches.
Attach any other trims of choice at this time as well.
NOTE: You can also do this step LAST. But I did it first.

Cut your faux fur into a circle or oval about 3-4″ in diameter.

Grab your needle and thread and run an easy gather-stitch near the edge of your faux fur, and all the way around the circumference.

It should look like a cute pouf ball like this…

IF you don’t get a good “POUF” add a bit of stuffing but keep an opening without knotting your thread just yet…

Run your thread through a few links of chain and drop it into your pouf.
Pull your thread tightly, add a few more stitches to center it within your pouf, and knot it into place…

Cut a few inches off of your maribou feather boa and hand stitch it to the top of your fur pouf and around your center chain.

Pull your thread tightly and knot it, hiding it under/within the feathers and fur.

I personally liked the pouf alone so I got rid of the other charms but you know your bestie better than anyone, go with what you think they would like most!
And… Voila!
Say hello to your little friend!


These cute poms make adorable Christmas Tree Ornaments! Just swap out the hook closure for a looped ribbon or slip a x-mas tree hook through the chain and hang these cute fluffy snowballs all over your tree!
Cheers to the holiday season!

source