
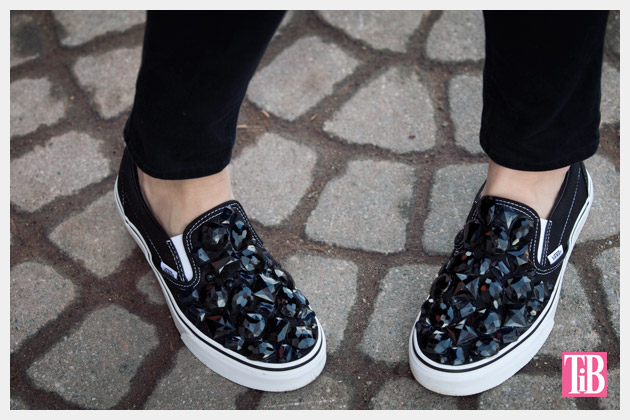
Create this seasons hottest accessory and sparkle in comfort with these Jeweled Slip-Ons. Who says heels should have all the fun?
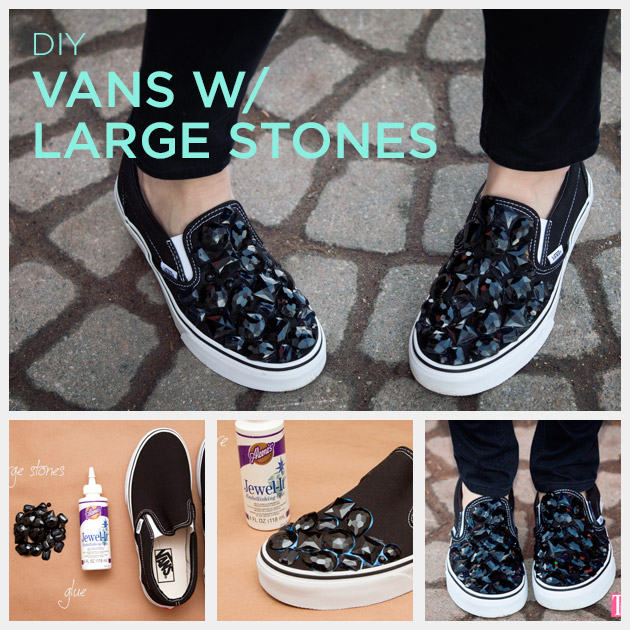
The iconic slip-on sneaker is making a fashion statement this spring.Unfortunately most of the fabulous styles you see are more than $300! While it’s hard to improve on the already perfect Original Vans, they make a great base for a DIY project. So you get to have fun and be crafty while saving yourself some moolah too!
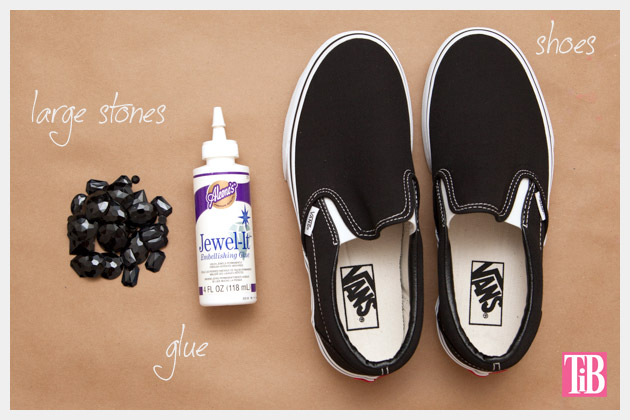
TOOLS & MATERIALS:
- Black slip-on sneakers – I used these Vans
- Large black stones – I bought mine at Jo-Ann’s
- Aleene’s Jewel-it glue
step 1
The large stones I used came in packages with lots of shapes and sizes. I recommend that you layout your stones on your shoes to get an idea of where you want them before you start gluing.
TIP: Divide your stones into two groups to make sure you don’t run out of stones on the first shoe.
You may also want to stuff your shoes with paper, this will make is easier to work.
step 2
Starting at the toe of your shoe, place your glue on the back of the stone and press it onto your shoe.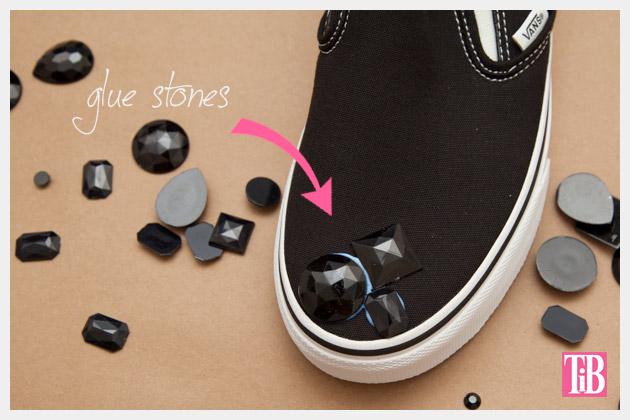
Starting at the toe of your shoe, place your glue on the back of the stone and press it onto your shoe.
The glue will squish out around the stone, but it will shrink up and dry clear.
Continue adding your stones and mixing up the shapes and sizes until you’ve covered the toe part of your shoe.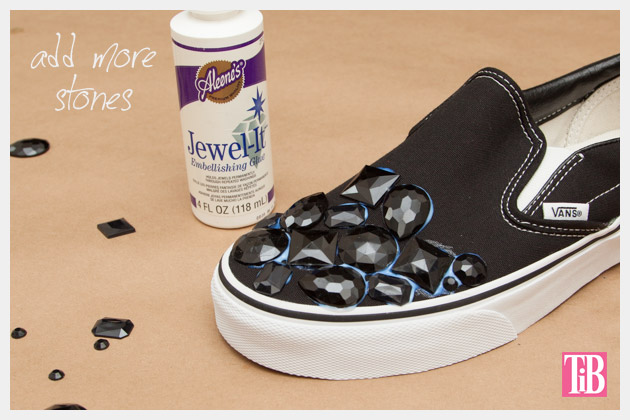
step 3
If you have any open spaces between your stones you can add the smaller stones to fill in.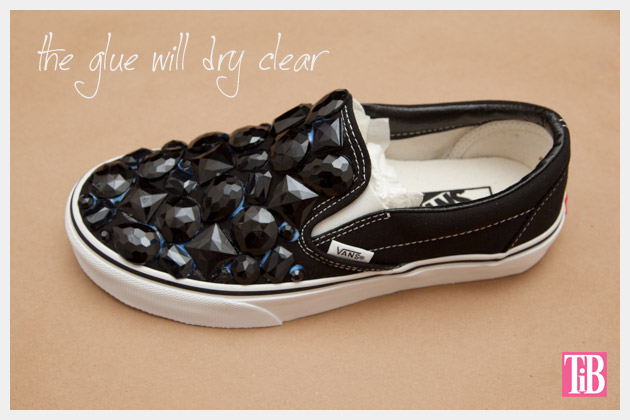
If you have any open spaces between your stones you can add the smaller stones to fill in.
Let your glue dry.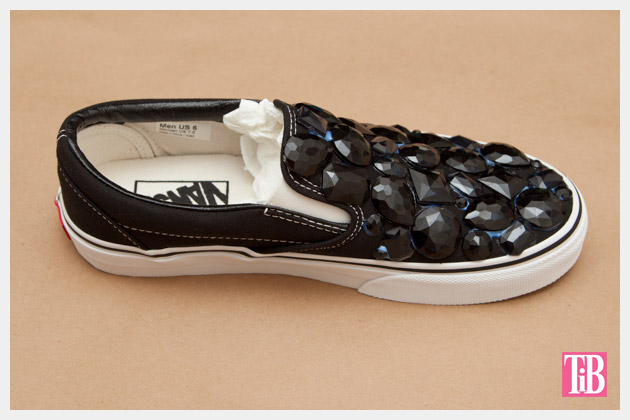
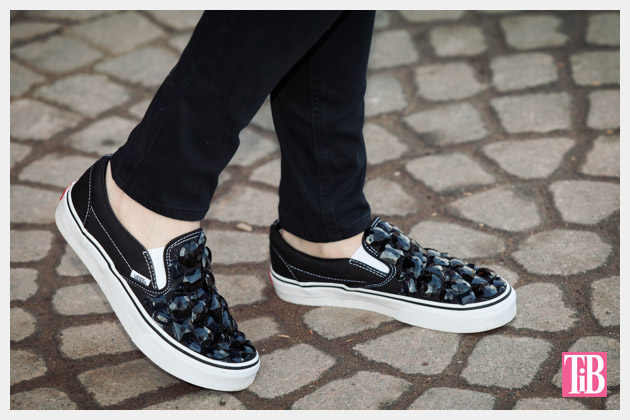
I found that the glue held really well on these shoes, I wasn’t nervous walking around in them worrying that the stones might fall off. They seem to be on there for good. 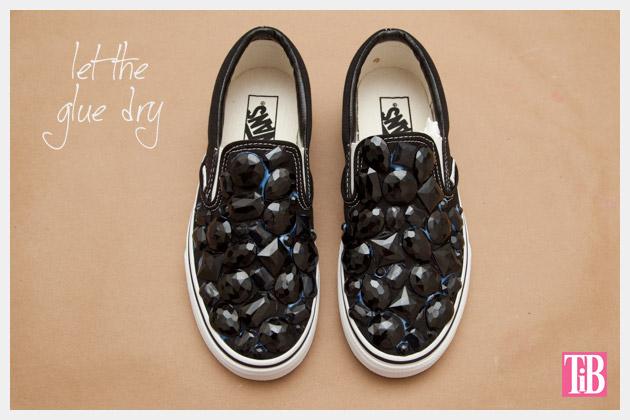
I know I just did another project last week using white Vans slip-ons, stencils and gold glitter, but it’s really hard not to go crazy with ideas sometimes. And I just really wanted to make these too!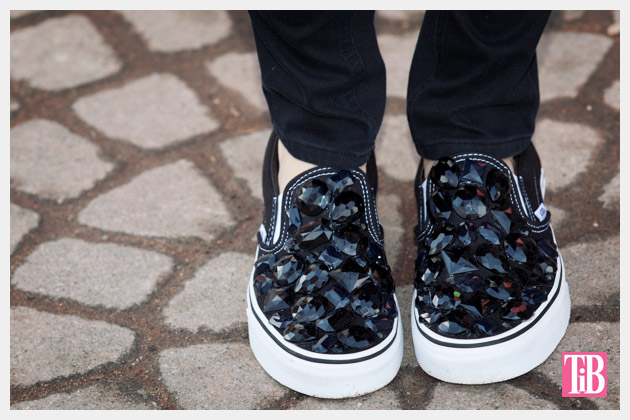
No comments:
Post a Comment